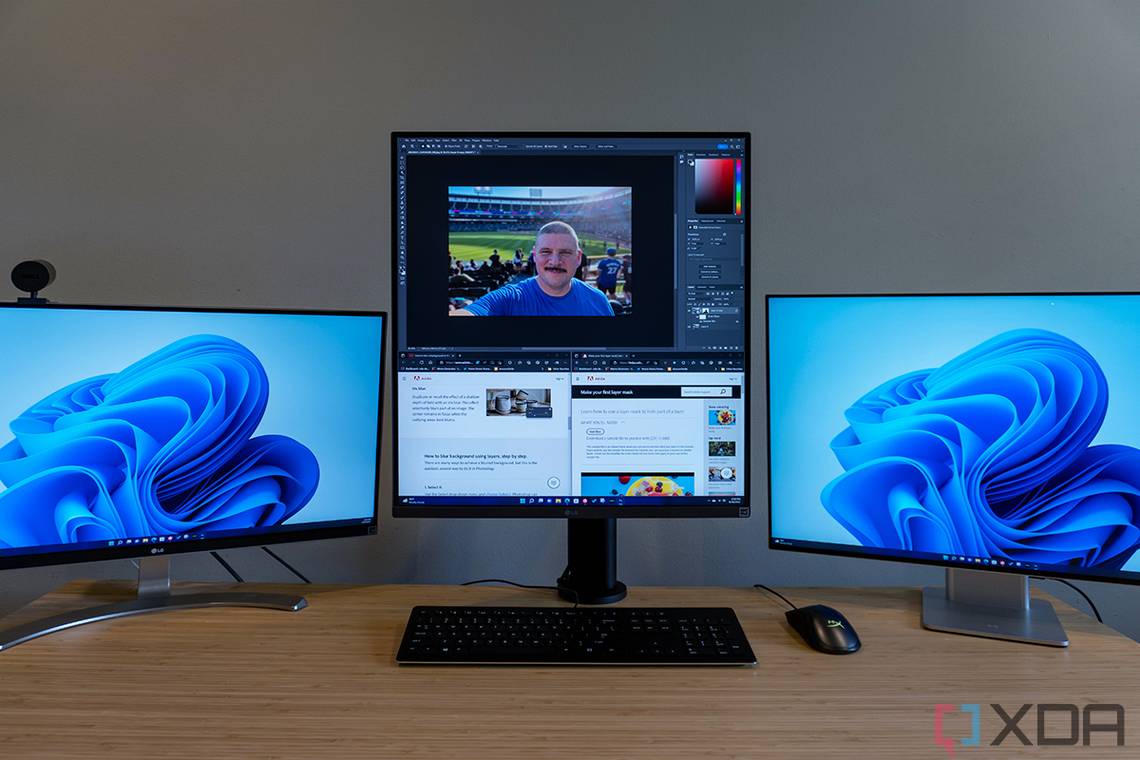
Having a second monitor on your desk setup can be great for work or for photo or video editing. When set up properly, using multiple monitors can help boost your productivity since you'll have more room to spread out. Did you just buy a new monitor and are wondering how to plug it in and use it in Windows 11? It's actually a very easy process!
Similar to how things worked in past versions of Windows, all you have to do to get started with managing multiple monitors in Windows 11 is visit a few settings menus after plugging the display into your PC.
How to use and manage multiple monitors on Windows 11
To connect your primary monitor to your Windows 11 system, you'll need to use a compatible cable. Most modern monitors feature HDMI or DisplayPort. Newer monitors will use USB-C, and older monitors might use Mini DisplayPort or VGA. For using more than one monitor at the same time in addition to your laptop or primary screen, we have some notes.
If your PC only has one output port, you might need a DisplayPort cable to connect two different displays — granted that they support daisy-chaining. In the case of laptops, you can also use a compatible dock that lets you plug in multiple monitors at the same time without the need for daisy chains or multiple cables. Check with your monitor maker for more information on that. If your PC has multiple output ports, then you won't need to worry about daisy changing or docks. Just plug both monitors directly into your system.
- Plug your monitor or monitors into your PC and turn it on.
- You might see Windows mirror the screen of your primary display or laptop display on the monitor for the first time. Don't worry, the next steps will cover more on how to change that.
- Click Display.
- Click the Identify button to identify your displays.
- On each of the labeled boxes for your monitor (1, 2, or 3,) click on each one and drag it to represent your actual setup and positioning of the monitors on your desk.
- Click the button next to Identify and change it as you see fit. You can either duplicate, extend, or show an image on which monitor you choose.

Once you've finished those steps, you're past the basics for managing displays. You can now dive a bit deeper into monitor arrangement.
Tweaking your multiple monitor settings and detecting more displays
Windows 11 brings some tweaks that let you set a primary display and remember window locations. You can see these options by clicking the Multiple Displays option under the Display settings. Here's a little more on how to manage this.
- To make a monitor your main display, click on its number in the section above the Multiple Displays and make sure it is selected. Then check the make this my main display box.
- You can have Windows 11 remember the windows you had open by clicking the remember window locations based on monitor connection button. When you plug and unplug your monitor, Windows will bring back the content you had on your external displays.
- Clicking minimize windows when a monitor is disconnected will help keep your desktop clean, so you don't have a ton of open windows when you disconnect your monitors.

Windows 11 will show you a Detect another display button if you want to connect to more displays. You can also connect to a wireless display from this menu.
Change your scaling, resolution, color profiles, and HDR settings on a monitor
If you purchased a monitor that has a high resolution or refresh rate, you'll need to manage this via Windows 11's settings. It is all on the same Display page in the Settings app. You can change the scaling and resolution independently on each monitor, too. Here's how:
- To change brightness and color profiles, scroll down under the Brightness & color option. Depending on your monitor, these settings might not be available.
- If your monitor supports HDR, click the HDR option and follow the instructions on your screen. Windows will play a sample video to showcase how HDR would look.
- To change the scale, scroll down to Scale & layout and pick an option other than the default value. From there, click each of the categories. A smaller scale means smaller text on the screen, and a bigger scale means bigger text.
- As for resolution, pick Display resolution and make sure you choose the highest possible option. This will help you make the most out of your monitor.

Change your refresh rates
The last step in managing monitors in Windows 11 is a bit more advanced. Most monitors and laptops now have higher refresh rates. You can tweak this by going to the Advanced Display section of Windows 11's display settings.
- Scroll down and click on Advanced Display
- Choose your respected monitor from the list
- At the bottom of the settings app, go to choose a refresh rate and pick the option you want.

As you can tell, once you plug your display into your Windows 11 PC, tweaking the settings to have it work the way you want is quite easy. Microsoft puts a lot of these settings front and center, and it doesn't take much clicking.